Dr. Pepper Cake: An Amazing Ultimate Recipe
Dr. Pepper Cake is an incredible dessert that takes the classic soda to a whole new level, transforming it into a deliciously moist and flavorful cake. If you're a fan of Dr. Pepper, you will absolutely love this cake. Combining the sweet, spicy, and tangy essence of the soda with rich cocoa brings a delightful twist that will wow your family and friends. Imagine a cake that not only captures the spirit of your favorite soft drink but also serves as the centerpiece of your dessert table. This recipe not only guarantees rave reviews but also makes an unforgettable culinary memory.
This delightful cake is perfect for birthday celebrations, family gatherings, or even just as a special treat. Every bite offers a unique flavor profile that combines sweetness with a hint of spice, captivating anyone who tries it. Dr. Pepper Cake is incredibly easy to make, ensuring that even novice bakers can impress their guests. In this article, we'll explore why this recipe is so unique, the preparation and cooking times, a detailed ingredient list, step-by-step instructions, and how to serve this wonderful dessert. With Dr. Pepper Cake, you'll discover a new favorite dessert that stands out for all the right reasons!
Why You'll Love This Recipe
This Dr. Pepper Cake is not just a dessert; it's a culinary adventure filled with flavors that you'll fall in love with for various reasons:
- Unique Flavor Profile: The combination of chocolate and Dr. Pepper provides a surprising and delightful taste experience that can't be replicated anywhere else.
- Moist Texture: Thanks to the soda, this cake is incredibly moist and fluffy, making every bite a joy.
- Simple Ingredients: You likely already have most of the ingredients in your kitchen, making this recipe easy and accessible.
- Versatile Serving Options: Whether you choose to frost it or serve it plain, this cake is adaptable to your preferences.
- Perfect for Any Occasion: This cake suits birthdays, casual gatherings, or as an indulgent treat for yourself.
- Easy to Follow: The straightforward instructions will guide you step by step, making it perfect for bakers of all skill levels.
With these delicious reasons in mind, it's easy to see why Dr. Pepper Cake is a must-try. Each bite is filled with nostalgia and surprise, creating a delightful experience you won't soon forget.
Preparation and Cooking Time
Preparing your Dr. Pepper Cake takes a little time, but the effort is well worth it. Here's a breakdown of the time required for this delicious cake:
- Preparation Time: 20 minutes
- Cooking Time: 30-35 minutes
- Cooling Time: 10-15 minutes
In total, you're looking at about 1 hour for preparation and baking, depending on your experience level and kitchen equipment. This makes it easy to fit into your busy schedule while still creating a fantastic dessert.
Ingredients
- 2 cups all-purpose flour
- 2 cups granulated sugar
- 1/2 cup unsweetened cocoa powder
- 1 cup Dr. Pepper soda
- 1/2 cup vegetable oil
- 2 large eggs
- 1 tablespoon baking powder
- 1/2 teaspoon salt
- 1 tablespoon vanilla extract
- 1/2 cup buttermilk
Step-by-Step Instructions
Creating a Dr. Pepper Cake is very straightforward, especially when you break it down into simple steps. Here’s how to make this delicious dessert:
- Preheat the Oven: Start by preheating your oven to 350°F (175°C). Grease and flour a 9×13-inch baking pan.
- Mix Dry Ingredients: In a large mixing bowl, sift together the flour, sugar, cocoa powder, baking powder, and salt.
- Combine Wet Ingredients: In another bowl, whisk together the Dr. Pepper soda, vegetable oil, eggs, vanilla extract, and buttermilk until well combined.
- Combine Mixtures: Gradually pour the wet mixture into the dry ingredients, stirring until the batter is smooth and well-blended. Make sure there are no lumps.
- Pour Batter: Once combined, pour the batter into the prepared baking pan, smoothing the top for even baking.
- Bake: Place the pan in the preheated oven and bake for 30-35 minutes, or until a toothpick inserted in the center comes out clean.
- Cool the Cake: After baking, remove the cake from the oven. Allow it to cool in the pan for about 10-15 minutes before transferring it to a wire rack to cool completely.
- Frost (Optional): If desired, frost the cooled cake with chocolate icing or serve it plain with a dusting of powdered sugar.
- Serve: Cut into squares and serve to your friends, family, or enjoy a slice yourself!
These easy steps will ensure you create a mouthwatering Dr. Pepper Cake that impresses everyone.
How to Serve
Serving Dr. Pepper Cake can elevate the experience even further. Here are some unique tips for serving this delicious dessert:
- Presentation: Use a cake stand or a decorative platter to display the cake beautifully.
- Accompaniments: Pair the cake with a scoop of vanilla ice cream or whipped cream for added richness.
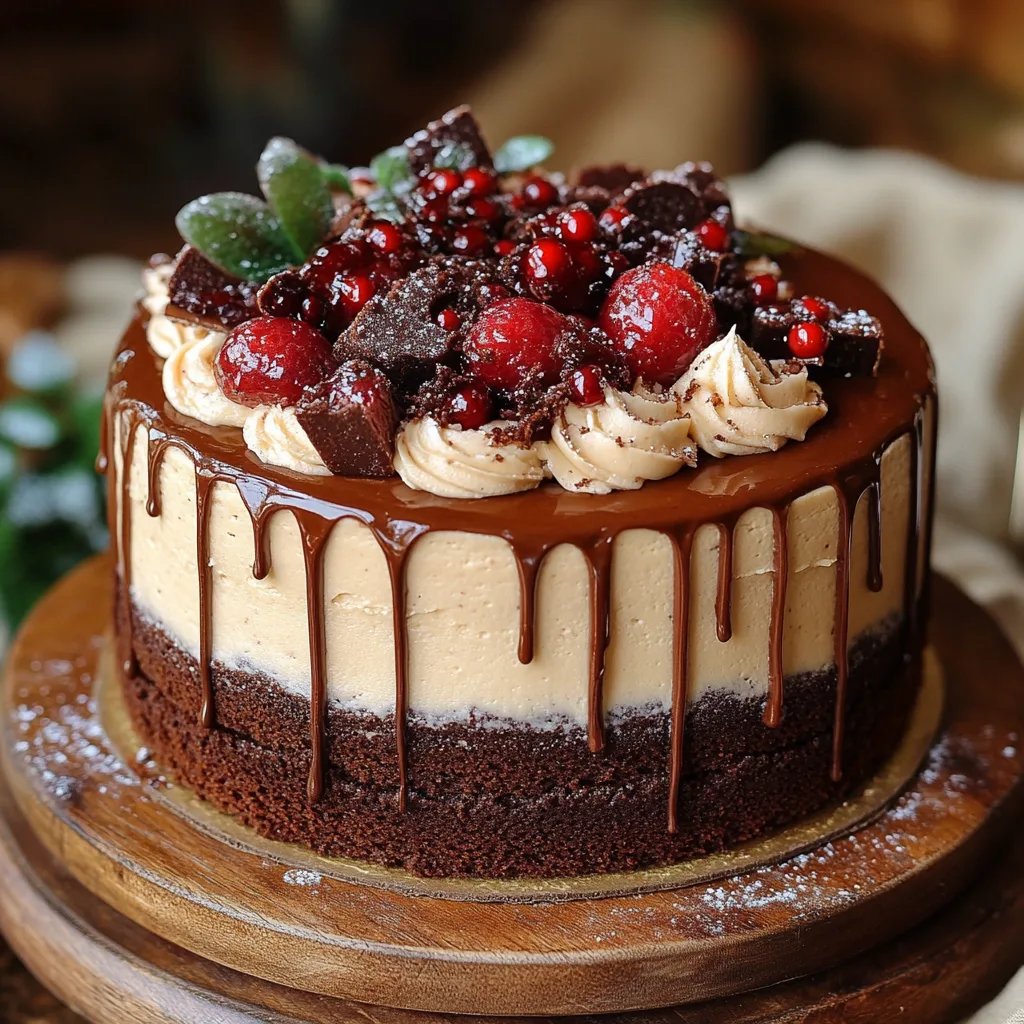
- Garnish: Top with chocolate shavings, cherries, or even nuts for a delightful finish.
- Beverage Pairing: Consider serving it with coffee, iced tea, or even a Dr. Pepper float for a fun twist.
- Slice Size: Offer generous slices but be mindful to keep them manageable; encourage your guests to go back for seconds!
Following these serving tips can create a memorable dining experience for you and your guests, leaving them eager to savor every bite of Dr. Pepper Cake.
Additional Tips
- Use Quality Ingredients: For the best flavor, opt for high-quality cocoa powder and pure vanilla extract. These small enhancements can elevate your cake significantly.
- Poke Holes for Added Flavor: After baking, poke holes in the cake with a skewer or fork before glazing or frosting. This allows the flavors to penetrate and enhances moistness.
- Experiment with Frosting: While a simple chocolate frosting is delicious, consider experimenting with cream cheese or caramel frosting for a different twist.
- Chill Before Serving: Allowing the cake to chill in the refrigerator for a couple of hours before serving can intensify the flavors and make slicing easier.
- Garnish Creatively: Use fresh fruit, nuts, or even decorative pastry sprinkles to enhance the look of your cake.
Recipe Variation
Feel free to switch things up! Here are a few variations to try:
- Nut-Free Version: Omit nuts from any frosting or consider using alternative toppings like crushed graham crackers or crushed cookies for a different texture.
- Different Flavor Cake: Swap out Dr. Pepper for other sodas, such as root beer or cherry cola, to create a different flavor profile.
- Chocolate Drizzle: Drizzle melted chocolate over the frosted cake for an added layer of sweetness and visual appeal.
- Citrus Twist: Add a few teaspoons of orange or lemon zest to the batter for a refreshing citrus note.
- Layer Cake: Instead of a single layer, bake two layers and create a layered cake with filling in between for an impressive dessert.
Freezing and Storage
- Storage: Keep any leftover cake covered in the refrigerator to maintain its freshness. It should last about 4-5 days.
- Freezing: You can freeze slices of the cake for up to 3 months. Ensure they are well-wrapped in plastic wrap and foil to prevent freezer burn.
- Thawing: When you’re ready to enjoy your frozen cake, let it thaw in the refrigerator overnight for the best texture.
Special Equipment
You will need a few essential tools to prepare this cake successfully:
- Mixing bowls: Useful for combining dry and wet ingredients.
- Electric mixer: Helps achieve a smooth batter quickly.
- Wooden spoon or skewer: For mixing and poking holes in the cake for added flavor infusion.
- 9×13 inch baking pan: The ideal size for this cake recipe.
- Cooling rack: Important for allowing air to circulate around the cake as it cools, preventing sogginess.
Frequently Asked Questions
How do I know when the cake is done baking?
Insert a toothpick into the center; if it comes out clean or with just a few crumbs, the cake is ready.
Can I make this cake ahead of time?
Absolutely! You can prepare it a day before serving. Letting it sit allows the flavors to develop even further.
Is this cake suitable for dietary restrictions?
You can adapt the recipe by using gluten-free flour or a dairy-free alternative for smoothies to make a gluten or dairy-free version.
Can I eliminate the buttermilk?
Yes! You can substitute buttermilk with regular milk or create a homemade buttermilk by adding a tablespoon of vinegar to the same amount of milk.
Can I enhance the cake's flavor?
Certainly! Adding spices like cinnamon or nutmeg can add a warm depth of flavor that pairs wonderfully with the cola taste.
Conclusion
Dr. Pepper Cake is a delightful treat that tantalizes your taste buds with its unique flavor and moist texture. It transforms a beloved soda into a standout dessert that can impress at any gathering. Easy to make and incredibly delicious, this cake promises to be a showstopper at your next event or simply as a special indulgence at home.