Red Velvet Cake with Extra Icing!
Highlighted under: Whisked Delight Recipes
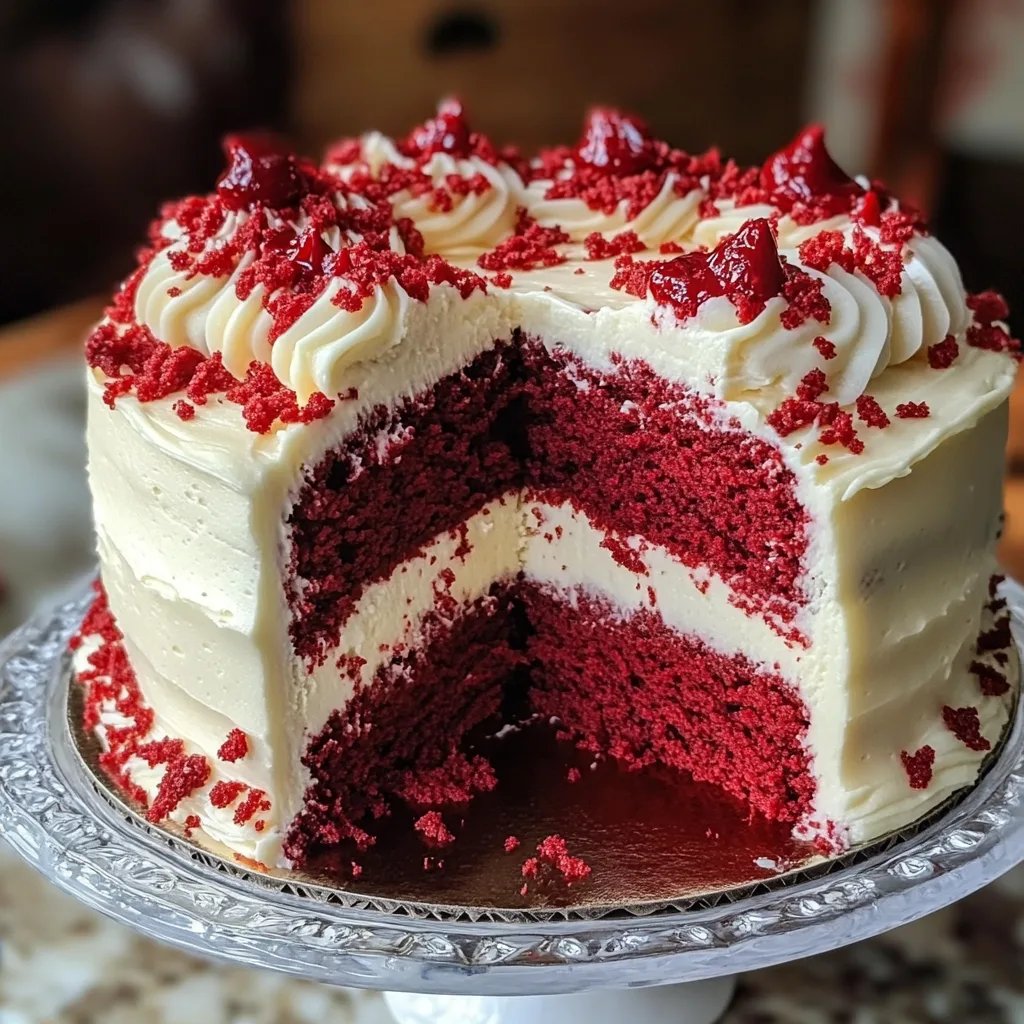
Experience the ultimate dessert sensation with this vibrant Red Velvet Cake draped in an extra layer of creamy frosting. Perfectly moist and adorned with a luscious cream cheese icing, this show-stopping cake is ideal for birthdays, celebrations, or simply satisfying your sweet tooth. Elevate your baking skills and impress friends and family with this indulgent classic that will steal the spotlight at any gathering.
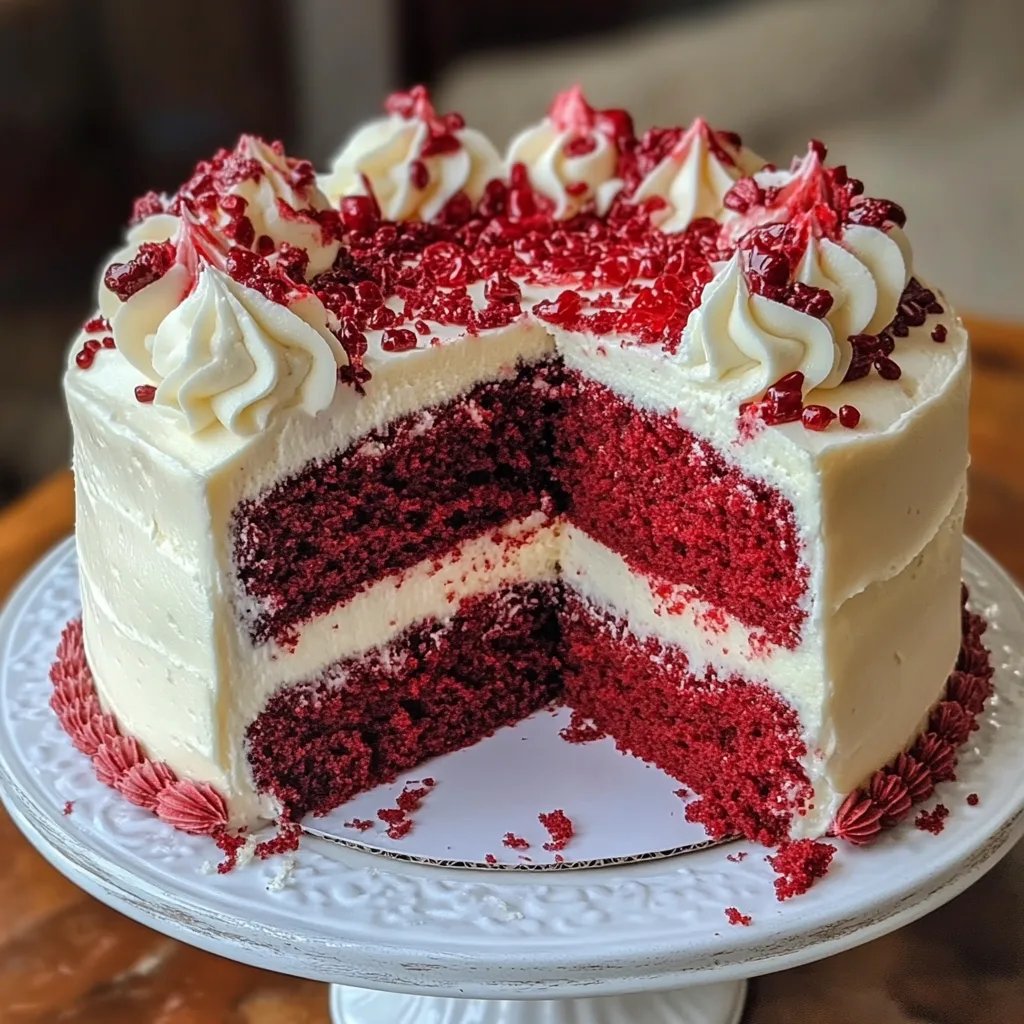
This Red Velvet Cake with Extra Icing is not only a feast for the eyes but also a delight for the taste buds. The unique combination of cocoa and red food coloring creates a rich, velvety texture that is complemented by the sweet tanginess of cream cheese icing.
The Rich History of Red Velvet Cake
Red Velvet Cake has a storied past that traces back to the early 20th century, often intertwined with the traditions of Southern baking. Originally, it was made with raw cocoa and buttermilk, which gave it a unique reddish hue. Today, this stunning cake dazzles not just for its beautiful color but also for its rich and velvety texture, making it a classic favorite at celebrations and special occasions.
As the popularity of Red Velvet Cake surged, especially in the 1980s, it became a staple at weddings, birthdays, and holidays. Its signature red color symbolizes love and passion, making it particularly popular for Valentine’s Day and anniversaries. The idea of pairing the cake with cream cheese icing adds a delightful tanginess that perfectly balances the sweetness, ensuring each bite is a memorable experience.
Perfecting Your Baking Technique
Baking a Red Velvet Cake is an art that combines precision with creativity. One key to achieving the perfect cake is to ensure all your ingredients are at room temperature before you begin. This ensures even mixing and allows for a better rise when baking. Be careful not to overmix the batter; once combined, stop mixing to retain that lovely, tender texture that Red Velvet is known for.
Another important tip is to use quality food coloring to achieve that iconic red hue. Natural colorings may alter the taste and texture of the cake, so stick to traditional options unless you want to try a natural alternative. Lastly, don’t skip the vinegar; it reacts with the baking soda to create a light, fluffy cake. Your guests will be impressed by the texture and flavor of your homemade creation!
Serving Suggestions
When it comes to serving your Red Velvet Cake, presentation matters. A simple garnish of fresh berries or a dusting of cocoa powder can elevate the visual appeal. Alternatively, consider serving alongside a scoop of vanilla ice cream or whipped cream for an extra decadent experience. This pairing also brings out the cake’s richness, making it an even more enchanting dessert option.
For special gatherings, consider layering your cake in creative ways. You can make mini cakes in jars for a fun and trendy presentation. Alternatively, create a multi-layered cake with additional flavors, like chocolate or vanilla, to surprise your guests with a delightful twist on the classic Red Velvet treat. No matter how you choose to serve it, this show-stopping cake will be a hit with everyone!
Ingredients
For the Cake
- 2 1/2 cups all-purpose flour
- 1 1/2 cups granulated sugar
- 1 teaspoon baking soda
- 1 teaspoon salt
- 1 teaspoon cocoa powder
- 1 1/2 cups vegetable oil
- 1 cup buttermilk, at room temperature
- 2 large eggs, at room temperature
- 2 tablespoons red food coloring
- 1 teaspoon vanilla extract
- 1 teaspoon white vinegar
For the Cream Cheese Icing
- 1 cup cream cheese, softened
- 1/2 cup unsalted butter, softened
- 4 cups powdered sugar
- 1 teaspoon vanilla extract
- 1-2 tablespoons milk (if needed for consistency)
Ensure that all ingredients are at room temperature before starting.
Instructions
Preheat the Oven
Preheat your oven to 350°F (175°C). Grease and flour two 9-inch round cake pans.
Mix Dry Ingredients
In a medium bowl, sift together the flour, baking soda, salt, and cocoa powder.
Combine Wet Ingredients
In a large bowl, mix the oil, sugar, buttermilk, eggs, food coloring, vanilla, and vinegar until well combined.
Blend Ingredients
Gradually add the dry ingredients to the wet ingredients, mixing until just combined.
Bake the Cakes
Divide the batter evenly between the prepared pans and bake for 25-30 minutes, or until a toothpick inserted in the center comes out clean.
Prepare the Icing
In a large bowl, beat the cream cheese and butter until smooth. Gradually add in the powdered sugar, mixing until creamy. Add vanilla and milk as needed to achieve the desired consistency.
Assemble the Cake
Once the cakes are completely cooled, remove them from the pans. Place one layer on a serving plate, spread a layer of icing on top, place the second layer on top, and frost the top and sides with the remaining icing.
Decorate as desired with additional sprinkles or edible decorations.
Pro Tips
- For an even richer flavor, add a tablespoon of cocoa powder to the cream cheese icing.
How to Store Leftover Cake
If you find yourself with leftover Red Velvet Cake, storing it properly will ensure that it stays fresh and delicious for days. The best way to store your cake is to cover it with plastic wrap or aluminum foil to keep it from drying out. You can also place it in an airtight container. Ensure it's in a cool, dry place or in the refrigerator if you expect to keep it for more than a couple of days.
For longer storage, consider freezing the cake. Slice it into portions and wrap each piece tightly in plastic wrap before placing them in a freezer-safe bag. When you’re ready to enjoy, simply thaw it at room temperature. This allows the cake to regain its moistness and flavor without compromising its quality.
Variations on Red Velvet Cake
While the classic Red Velvet Cake is beloved, there are many creative variations to try. For a fun twist, you can make Red Velvet Cupcakes, which are perfect for parties or individual servings. Simply use the same batter but reduce the baking time. These bite-sized treats are equally delightful and can be adorned with decorative frosting for a festive look.
Another variation you might enjoy is Red Velvet Pancakes for a breakfast treat that everyone in the family will love. This dish captures the same flavors but adds a delightful twist to your morning meal. Top them with cream cheese syrup and fresh fruits for a standout brunch that will impress your guests.
Questions About Recipes
→ Can I use oil instead of butter for the icing?
No, butter is essential for the creamy texture of the icing. Use unsalted butter for best results.
→ Can I make this cake ahead of time?
Yes, the cake can be baked ahead of time and stored in the refrigerator. Frost before serving.
Red Velvet Cake with Extra Icing!
Created by: The Dishpark Team
Recipe Type: Whisked Delight Recipes
Skill Level: Intermediate
Final Quantity: 12 servings
What You'll Need
For the Cake
- 2 1/2 cups all-purpose flour
- 1 1/2 cups granulated sugar
- 1 teaspoon baking soda
- 1 teaspoon salt
- 1 teaspoon cocoa powder
- 1 1/2 cups vegetable oil
- 1 cup buttermilk, at room temperature
- 2 large eggs, at room temperature
- 2 tablespoons red food coloring
- 1 teaspoon vanilla extract
- 1 teaspoon white vinegar
For the Cream Cheese Icing
- 1 cup cream cheese, softened
- 1/2 cup unsalted butter, softened
- 4 cups powdered sugar
- 1 teaspoon vanilla extract
- 1-2 tablespoons milk (if needed for consistency)
How-To Steps
Preheat your oven to 350°F (175°C). Grease and flour two 9-inch round cake pans.
In a medium bowl, sift together the flour, baking soda, salt, and cocoa powder.
In a large bowl, mix the oil, sugar, buttermilk, eggs, food coloring, vanilla, and vinegar until well combined.
Gradually add the dry ingredients to the wet ingredients, mixing until just combined.
Divide the batter evenly between the prepared pans and bake for 25-30 minutes, or until a toothpick inserted in the center comes out clean.
In a large bowl, beat the cream cheese and butter until smooth. Gradually add in the powdered sugar, mixing until creamy. Add vanilla and milk as needed to achieve the desired consistency.
Once the cakes are completely cooled, remove them from the pans. Place one layer on a serving plate, spread a layer of icing on top, place the second layer on top, and frost the top and sides with the remaining icing.
Extra Tips
- For an even richer flavor, add a tablespoon of cocoa powder to the cream cheese icing.
Nutritional Breakdown (Per Serving)
- Calories: 450
- Total Fat: 22g
- Sodium: 330mg
- Total Carbohydrates: 62g
- Sugars: 35g